|
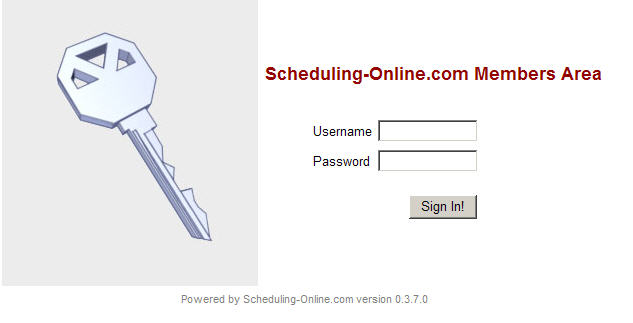
Step 1: Login to your CONTROL
PANEL.
Here is where you login to the Control Panel
using the username and password sent to you in the email
confirmation. You can personalize this password at anytime in the
Account Setup section of your control panel. This is where you create usernames and
passwords for additional users who you want to access and manage your schedule.
From the control panel you will customize your
schedule and add, modify, and delete entries. You must keep this up-to-date so
that customers will view your up-to-date availability.
Step 2: Setup
Account

Note: Users that are not setup by you as "Administrators" will see this
page without the "Account /User Setup" and "Export Data" icons
After you login, you will see
the Welcome Admin Menu. Here you can view events
scheduled or modified during the last 10-30 days (you decide with the pull
down menu). We created this function so you can easily keep track of recent
changes. After you have set up your site, you will click "View/Add/Edit
Events" to view/modify or create events or click "Export Data"
to download all data entered into an Excel spreadsheet. We
recommend exporting your data routinely to backup important information.
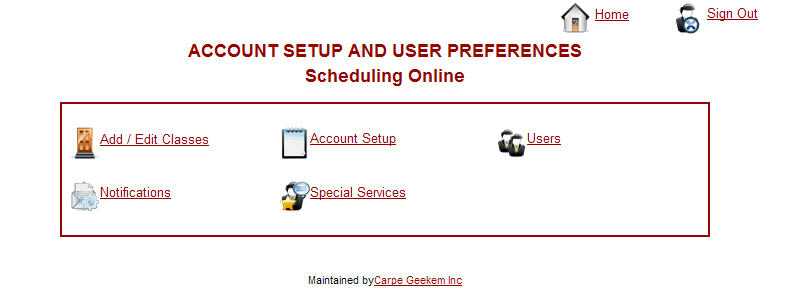
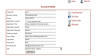
To begin the Account Setup
process, click on "Account Setup." You will see the following menu:
Then click Account Setup (on this menu). You will
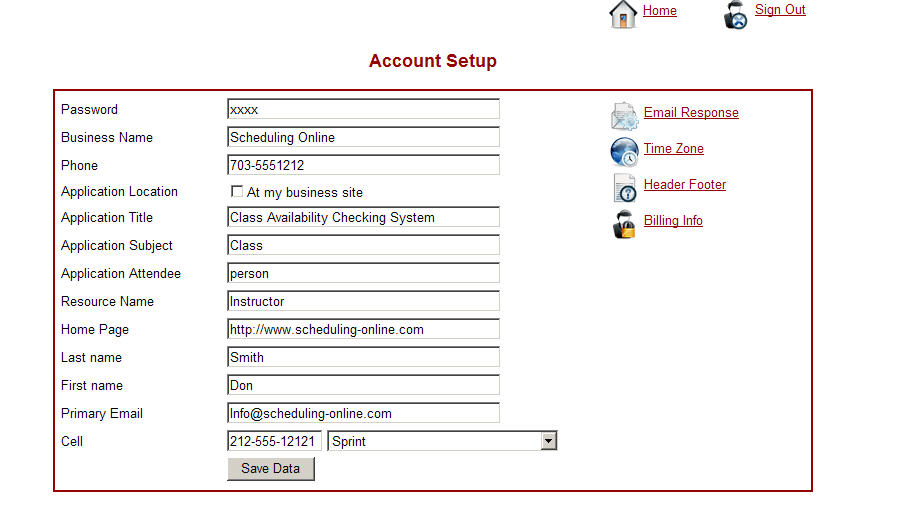
see the following form. You must complete all the following information on this page:
"Application Location" refers to where the events will
take place. If you check this box the customer will not be able to provide an
address where the event will take place. However, if you want the customer to
dictate where the even will take place, then do not check this box.
"Application Title" is how you will refer to this
scheduling system (the tool you are now customizing) to your employees or customers. We typically call it a
"Scheduling System" or "Appointment Checker." You can change this.
This "title" appears on the first page of the calendar viewed by the customer. If you
do not want this title to appear, then press the space bar twice in this field.
"Application Subject" allows you to
customize the
tabs on your scheduling system to reflect what you are using the scheduler for. For example,
if you are scheduling, classes, then this field should say "class." If you are
scheduling "massages," it should say "massage." If it
were tennis courts, it would say "tennis courts." If it were "doctor
appointments" it would say "doctor appointments."
"Application Attendee" is used if you want to set as
a requirement a minimum number of people or if you want to provide automatic
price quotes. For example, if you are a tennis instructor and charge per person
or require a 5 person minimum, then you would put "person." If
you were a limo driver and charged by the hour you would put "hour."
"Resource Name" is the label for describing what
or who is being scheduled (i.e. therapist, doctor, instructor, DJ, etc). If this
was e a limo company the resource would be "drivers." if this was a doctor's
office the resource could be doctors, or perhaps examining rooms. If this was a
tennis club the resource would be instructors, or perhaps courts. The
resource is what is being reserved or scheduled.
"Last Name," "First Name," "Email"
and "Cell
Phone": This is information of the site administrator who
Scheduling-Online should contact for billing or account questions.
By Clicking on "Email Response" you can
customize a message that will be automatically sent to customers who book on
line. Be sure to fill out the reply email at the bottom of the email response
page.
By Clicking on "Header/Footer" you can add
your logo or picture to the site. Simply go to your home page or other
web site, place your curser over the picture you which to capture or import to
your Scheduling-Online, then right click the mouse . Click Properties,
then copy and paste the URL address (for example,
http://www.pixeia.com/projects/scheduling2/#)
into either the header or footer space on this page.
Be sure to click Save before you
return to Account Setup Page
Step 3: Add Users
and User Preferences
Click
"Users" to create/modify/delete user profiles (usernames,
passwords, etc) of those you want to access (or no longer access) your system.
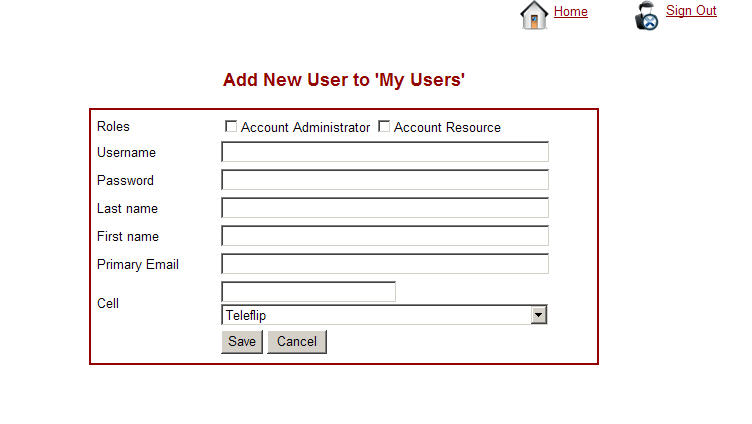
Then click "Add New User."
You will then see the following menu:
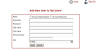
Complete the
required information for the new user, and check "Administrator" if you want this user to have
complete access to and be able to modify all Account Setup & Preferences AND
be able to delete and modify appointments made by anyone. Do not
check this option click if you do not want a user to be able to see or make
administrative changes and you want them to be able to see details of all
appointments, but only modify those that they created.
Check "Resource"
if this user can be scheduled for events (i.e.,
is an instructor, a doctor, or a driver who you will schedule). If this
user just sets up or view appointments (i.e. sales or management") then do not
check "Resource."
** Here you can
also check method(s) by which this resource will be notified when events are
assigned to them. You Can have people automatically notified by email, text
message to their cell phone -- or to both:
If you want this person automatically to receive
email notification every time you schedule them, then provide that person's
email address.
If you want this resource/person automatically to receive a text
message to their cell phone, then provide their cell number AND select from the
pull down menu the wireless carrier of that person. Generally the text message
function is limited to North America for most carriers. You should note that Scheduling-Online
does not charge any additional charges for text messages. However, many wireless
carriers charge their customers to receive text messages. So you should obtain
permission from the person being notified prior to providing this information.
Then click "Save" and "Back to Admin Menu"
Step 4: Set Up Notifications
Click "Notifications" to select when each
person or resource will be automatically notified. You will be able to
select when users are notified. Note the distinction between the "any" and "all"
options. "Any" means that the resource will receive notification whenever any
resource is modified or booked. "All" notifies the resource only when en event
for "all" has been created or modified.
If you do not want a certain
person to receive any notices automatically, then do not check any of the
options.
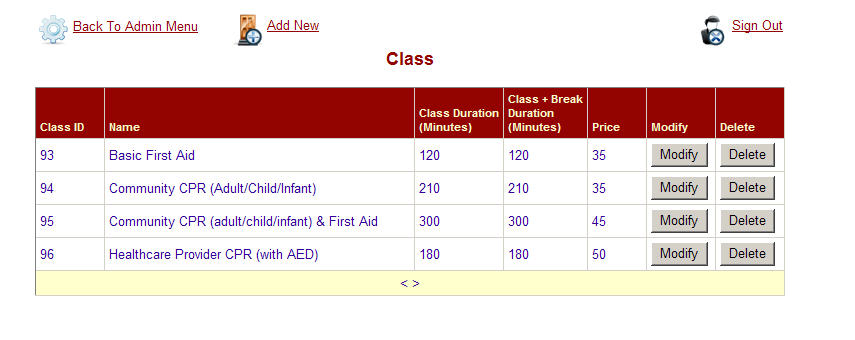
Step 5: Add/Edit
"Classes"
The name of the first button in the left column
(below) will reflect the label you assigned to the "Application Subject" on the
"Account Setup Page" (i.e.
class, doctor visit, or the thing being scheduled). In this instance we
set the "application Subject" as "classes"
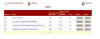
Click "Add/Edit Classes" to add or modify or delete
titles of classes, required duration of classes, and, if necessary, time in
between classes. Below is an example of several CPR and First Aid classes
that had been created:
That's it.
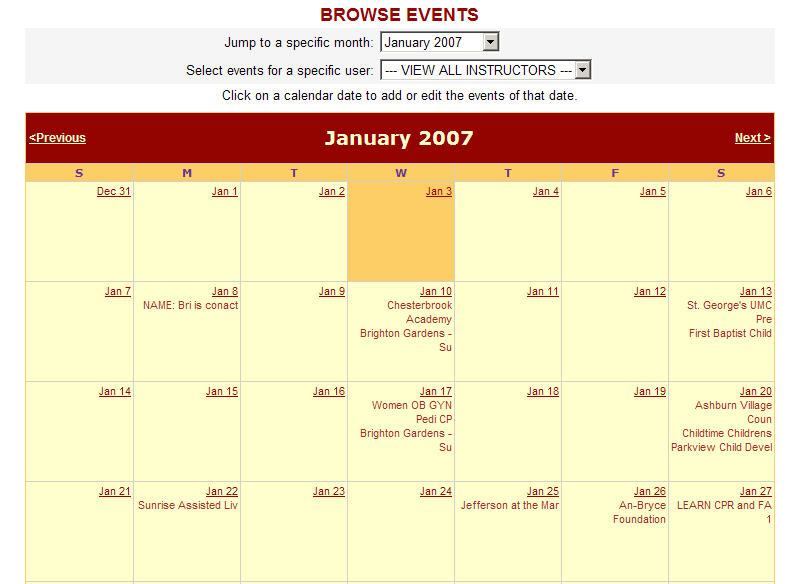
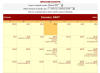
To add, modify, delete new appointments just click "Add / Edit / Events"

You will see the following calendar which will show your
appointments and allow you to manage your schedule and notify all involved with
just a few clicks:
Here you create, modify, and delete appointments that will result in
automatically updating the availability the customer sees in the Customer View
section (which the customer accesses directly from your web site), and which
will automatically send notices (via email and or text message) to those who you
have requested be notified. Customer will only see if you are available they
will not see any details of your appointments.
The
easiest way to update this section is to click on the date for which the
reservation will be made.
You will see the following page :
At the top of the page you will see a bar-chart showing the
availability of all your resources for that day. Red
means unavailable; Green means
available.
In the pull down menu select which resource you want to book. You can book for
one resource or for all.
Click on Add New Block, then either type the information into the Block
Notes filed, or use the cut/paste function (control+C) and copy and past the
information from the customer email request into the Block Notes.
TIP:
To block out a time where a resource is not available (say, for example, an
instructor cannot work Friday afternoons from 3pm-9pm, simply block out an
appointment for him but do not enter any text in the event description.
Similarly, if you are open from 9am to 6pm, then create a recurring for ALL
RESOURCES block from midnight until 9am, and select each day in the recurring
area. The hit enter. Next, do the same from 6pm to midnight. This way the time
is blocked out the but the calendar is not cluttered with unnecessary
detail.
Other Features:
"View Print Calendar:" Allows you to
view on one page all or individual calendars, with or without the details.
"Recurring Events:" You easily can set up
recurring events, then modify and/or delete all or some of the occurrences.
"Block Entire Days:" Easily allows you to
block out an entire day with one click.
"Block Continuous Periods of Time:" Going on
Vacation for a couple of days or weeks? Use this function to block out a
resource for an extended period of time.
"Block times for individual or all resources:"
By selecting the resource name in the pull down menu or All you can select
what resource(s) are being reserved.
"Conflict Safety:" automatically warns of
overlapping or conflicting events, with the manual option to override. If
you schedule a resource that is not available a warning is displayed that allows
you to over ride by checking a box.
"Web Generated Appointments:" When a customer visits your
web site and requests an appointment thru your Scheduling-Online system, you
will receive an Email and/or text message with the necessary information
(including the requestor's IP address; tracking the number of requests from an
IP address can help reduce fraudulent requests). A link will be included
in the email request. By clicking on the link you will be automatically be
brought to the correct time and date in the Control Panel . You can then add the
appointment with retyping the information. If you accept the appointment by
adding it to your calendar, the customer will automatically receive an email
confirmation with the appointment information attached. Your customer can
click on the attachment to the confirmation email and automatically add the
information to Outlook -- without retyping information. We have found this
helpful in reducing no-shows due to miscommunication or "forgetfulness."
|